How I Build a PVC Lightsaber
Here’s how I go about building a PVC lightsaber.
1. I get my PVC stock and parts. 1” and 1-1/4” PVC, 1” male and female connector and black O-rings.
2. I cut the main body of the hilt from 1” PVC. I cut this stuff by hand. I don’t have a miter saw.
3. I cut the shroud and grip from the 1-1/4” PVC.
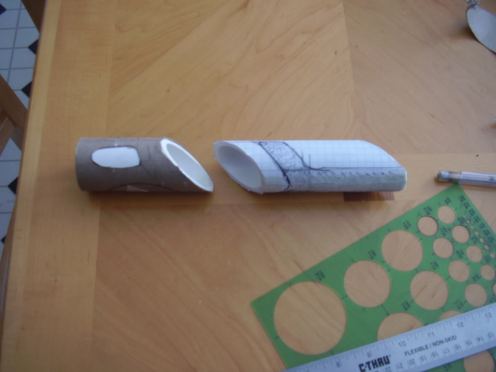
4. I make the templates for the grip and shroud. By the way a paper towel tube is excellent to use as a template for 1-1/4” PVC.
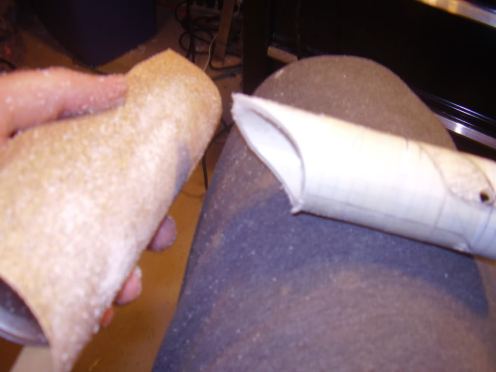
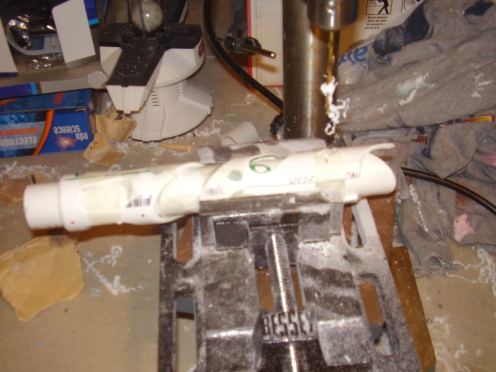
5. I pre-drill holes by all the curves and corners to make it easier to cut out. I then use my dremel to get a rough curve for the shroud. Then I take sandpaper and wrap it around a can of spray paint to get an even curve.
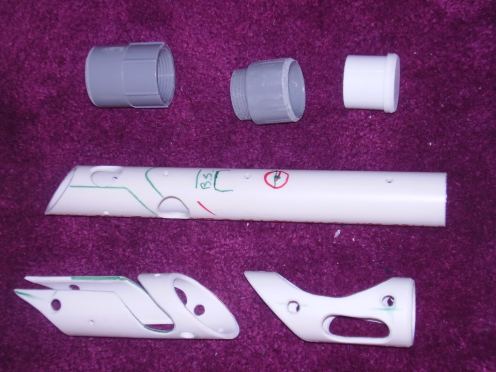
6. I cut out the shroud and grip.
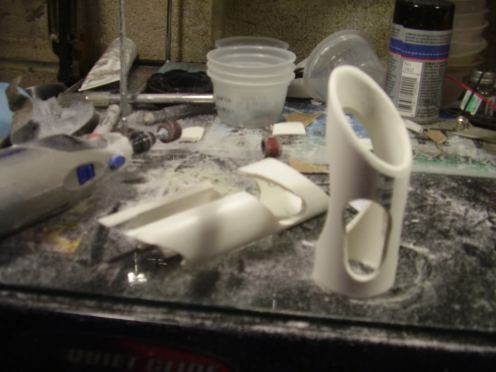
7. I take my dremel and sand and shape the shroud and grip.
8. I piece the hilt together and plot where I’m going place screws, windows/holes, led/heat sink, and switch.
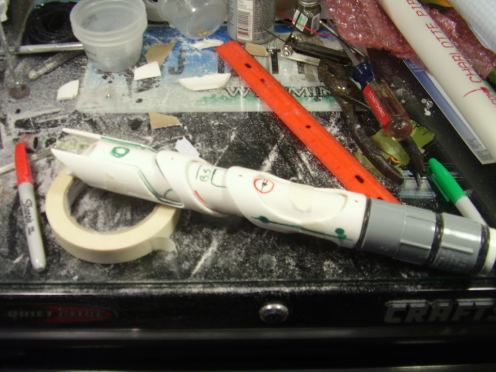
9. I take masking tape and tape the shroud and grip to the hilt body. Then pre-drill and drill all holes.
10. All the parts are cut. My next step is to do the finale shaping and sanding by hand. I use 60, 100, 150, & 220 grit.
1. I now have the parts completely hand sanded.
2. I carefully screw in the wood inserts. I say carefully because they can have a tendency to break off at the slotted area if you try to screw them in to fast. This step can also be a pain trying to keep the inserts straight.
3. Now with my dremel. I cut off the inserts. I cut them half way through, let them cool and them cut them completely off. If you try to cut them all the way off in one shot, they’ll get hot and melt the PVC. After cutting them off I use the sanding drum to sand down the inserts until they’re flush
1. I tape off the inserts so paint won’t clog the threads of the inserts. I also tape off the threads and the spot to be glued on the PVC.
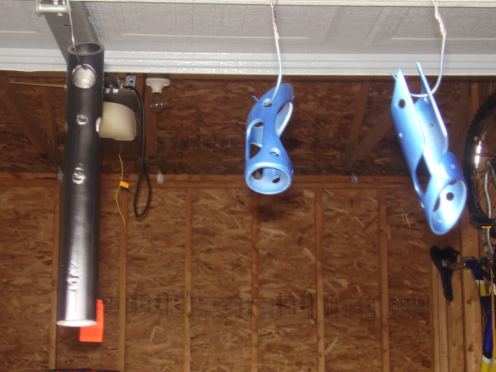
2. and 3. I sprayed 2 coats of silver over all the parts.
4. and 5. I sprayed 1 coat of gloss black on the main body of the hilt and metallic blue on the shroud, grip, and pommel parts. The plan here is to let the paint dry overnight. Then I’m going to take 220-grit sandpaper and lightly sand parts of the hilt, shroud, grip, and pommel to reveal the silver under the black and blue paint.
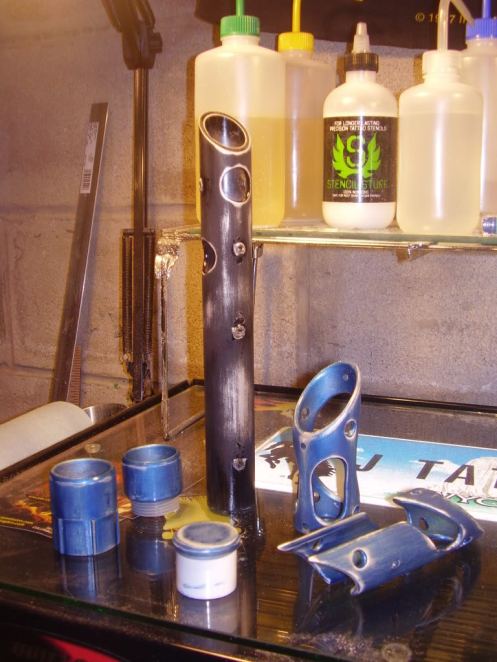
1. Nice new hilt parts.
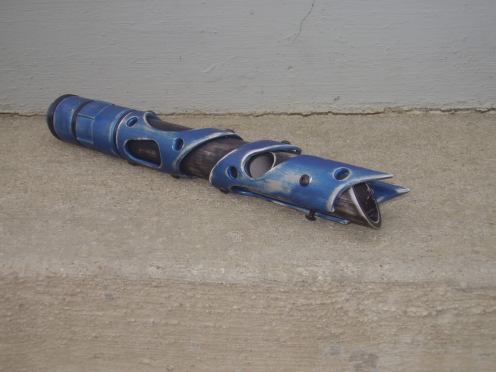
2. Now they’re worn. They look like they’ve been sitting on a workbench forever. I sanded them down with 220-grit sandpaper. The Testors metallic blue was a little more difficult to sand than the Krylon.
3. Time to assemble the hilt. I glued the female connector to the hilt. I then put the O-rings on the end cap and glue the end cap to the male connector. I put the other O-rings on the threaded part of the male connector. Then screwed it together. I also put an O-ring between the pommel and grip. I use 8/32 -3/8” button head screws for attaching the shroud and grip.
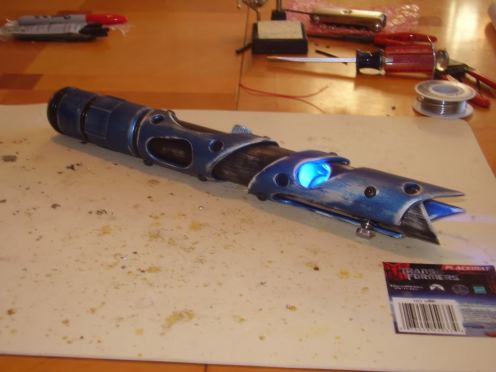
4. Now we have a hilt that looks as if it has been dragged from one end of the galaxy to the other.
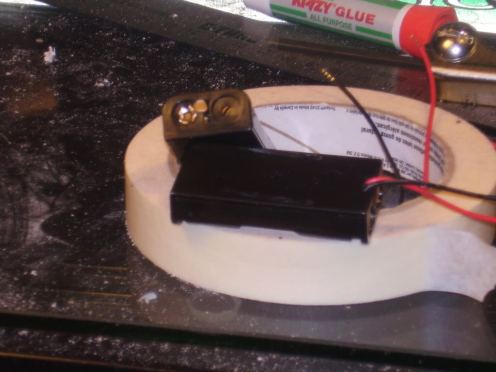
Here is how I put my battery boxes together. I have to use the double AAA battery holders from Radio Shack. They fit the best in the 1” PVC.
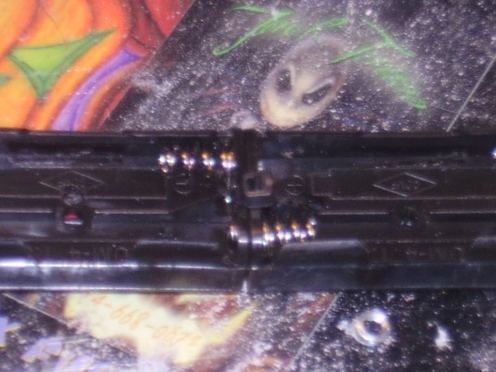
1. I drill a hole in the middle of the terminals on both holders so I can put them together with a zip tie. I also use my dremel cut off wheel to make 2 slits on either side of the holders for Velcro straps.
2. I use a zip tie to hold them together. I haven’t found glue that will hold them together. The zip ties work great.
3. I solder the wires together. I don’t think I need to explain how that’s done.
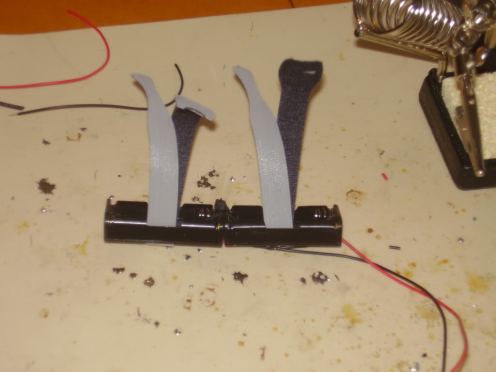
4. I put the Velcro through the slits.
5. Install the batteries, trim the Velcro and there’s your battery holder.
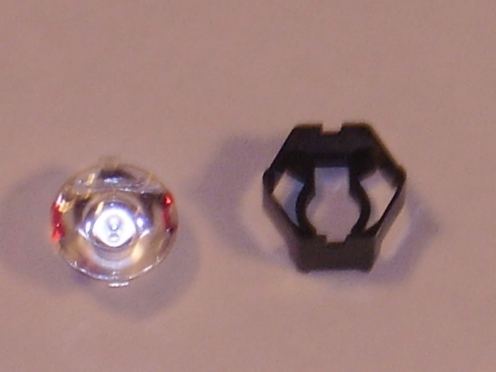
1. and 2. Since the 5 degree lens doesn’t snap into the 10 degree holder, I mark where the clips line up and with my dremel and grinder bit, I carefully grind down the areas just enough for the 5 degree lens to snap into place.
3. With 1” PVC I use the Luxeon Star heat sink. I also use a scrap piece of 1” thin walled blade stock for a blade stop.
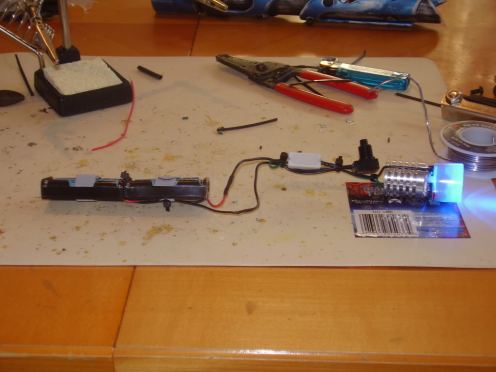
4. Everything is wired up and ready for cram-fu. That’s a term used in the saber building community for stuffing all the internals inside the hilt. I just do the basic wiring with these sabers. The heat sink and led are sandwiched between the switch and the scrap piece of blade stock.
5. Cram- fu successful!












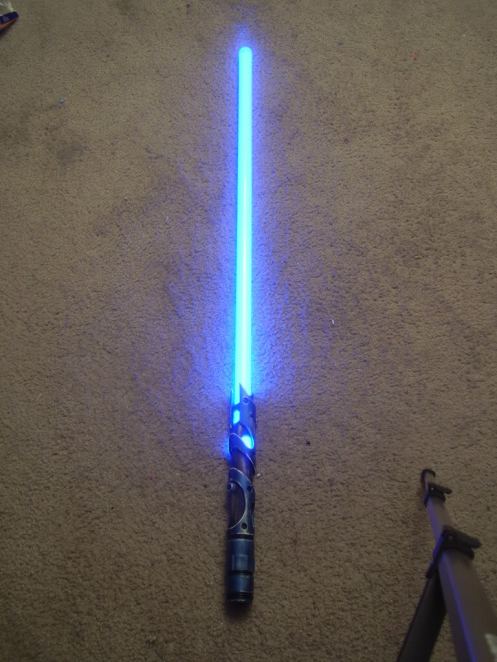

Oh wow, they really are gorgeous! Great job!
Thank you, this is a very addicting hobby and it is somewhat time consuming. So while I’m in school I have to put building sabers on the back burner. You can actually duel with them, it’s pretty fun.
Now THAT sounds like a blast.
Um, I might be missing it, but I don’t see anything that says what you used for the blade…
Sorry, the blade is a translucent white, 1″ thick walled polycarbonate tube, I’m not sure what the tip is made from but I ordered the blade, tip and all the electronics from TCSS, The Custom Saber Shop.
ah, yeah this is a pretty cool design, I’m looking more for a way to create one with a collapsible blade.
As of now there isn’t a way to make a blade collapsible. You can remove the blades. These blades are very strong so you can confidently duel with them without them breaking. Also what everyone tries to achieve is making their blades as bright and even as possible. One of the techniques used to achieve that bright even effect is rolling up about 4 to 6 feet of cellophane and putting it inside the polyC blade stock. If you did have a collapsible blade it wouldn’t stand up to dueling, and you wouldn’t have an even glow. I just thought of another reason why this wouldn’t work. Where is the blade going to go? You need a minimum of 2″ for the blade to sit securely in the hilt, the rest of the hilt contains your led, heat sink, resistor, led driver or sound card, switch, battery pack and speaker. Don’t forget the wiring. All of this fits into a space that is between 1″ to 1.25″ wide; It gets pretty tight inside the hilt. And if you go with MHS parts to build your hilt, the inner diameters differ depending on what parts you use. Check out the forums on TCSS, that’s where I learned how to build sabers. There’s tons of great information on there.
Your blade is awesome! Just curious, why did you put that piece of white plastic onto the heatsink? My guess is that it acts as some sort of a buffer to protect the light from the blade coming down too far inside. Also, are the blades just glued in, or are they screwed in? Im curious to know if your ever to swap the blades or replace if broken.
also, now what is the diameter of of your heatsink and how snug is it in the 1.25”pvc/
Yes, the white piece of plastic is acting as a blade stop but using the copper end cap eliminates that. The blades are held in with a set screw.
I now 3/4″ copper pipe end caps for my heat sinks. The fit nicely inside the 1″ pvc. there’s a little bit of play, so you’ll need to use a set screw to hold the led assembly in place. Here’s a link to the forums where I posted this.
http://imperialroyalarms.proboards.com/index.cgi?action=display&board=sabers2&thread=96
What kind of a set up are you using to charge this? Im looking to make my own saber and havent seen anything yet that shows how to do the wiring to charge your batteries. I know this is a really broad question but if you could at least attempt explain this, I would be very grateful! The wiring/electrical components for the saber Im making is the bare minimum: No sound. Just batteries, lights, and an on/off switch. I just dont know how to recharge the thing. lol.
I’m just using regular rechargeable AAA batteries for this saber. I just take them out and put them in a charger. I started using lithium ion cells and a recharge port in my later builds.
You can check out the TCSS forum to get the full run down on how to hook that up. Actually TCSS is where I learned how to build sabers. I don’t know if you had check out their forum yet but here’s the link.
http://forums.thecustomsabershop.com/
Hey! Thanks alot for taking the time to post this tutorial. Extremely informative and one of the few PVC tuts I’ve found with such detail. Awesome blade!
I do have a question…
I’m currently working on my first blade also using both 1 1/4″ and 1″ PVC pipe and what I am concerned about is I may be missing something as far as mounting the blade. The main body of the hilt is 1″ and the Blade is also 1″. I know from your copper endcap tut that the blade sits flush on top to the 3/4″ endcap but does the blade fit down the 1″ hilt? In this example is the blade held in the 1″ hilt or the 1 1/4″ extension off the front?
Thank you again for this tut and taking the time to answer our questions!
The blade fits inside the 1″ PVC. I usually set in 2 plus inches and I use a threaded insert and a set screw to hold the blade in place.
Awesome thanks again for taking the time